How to Mount a LED Strip to the Arc
Introduction
Step 1: Remove the Old LED Strip
Remove the old LED strip from the arc by pulling the strip off the arc. Remove everything that is left of the old strip.
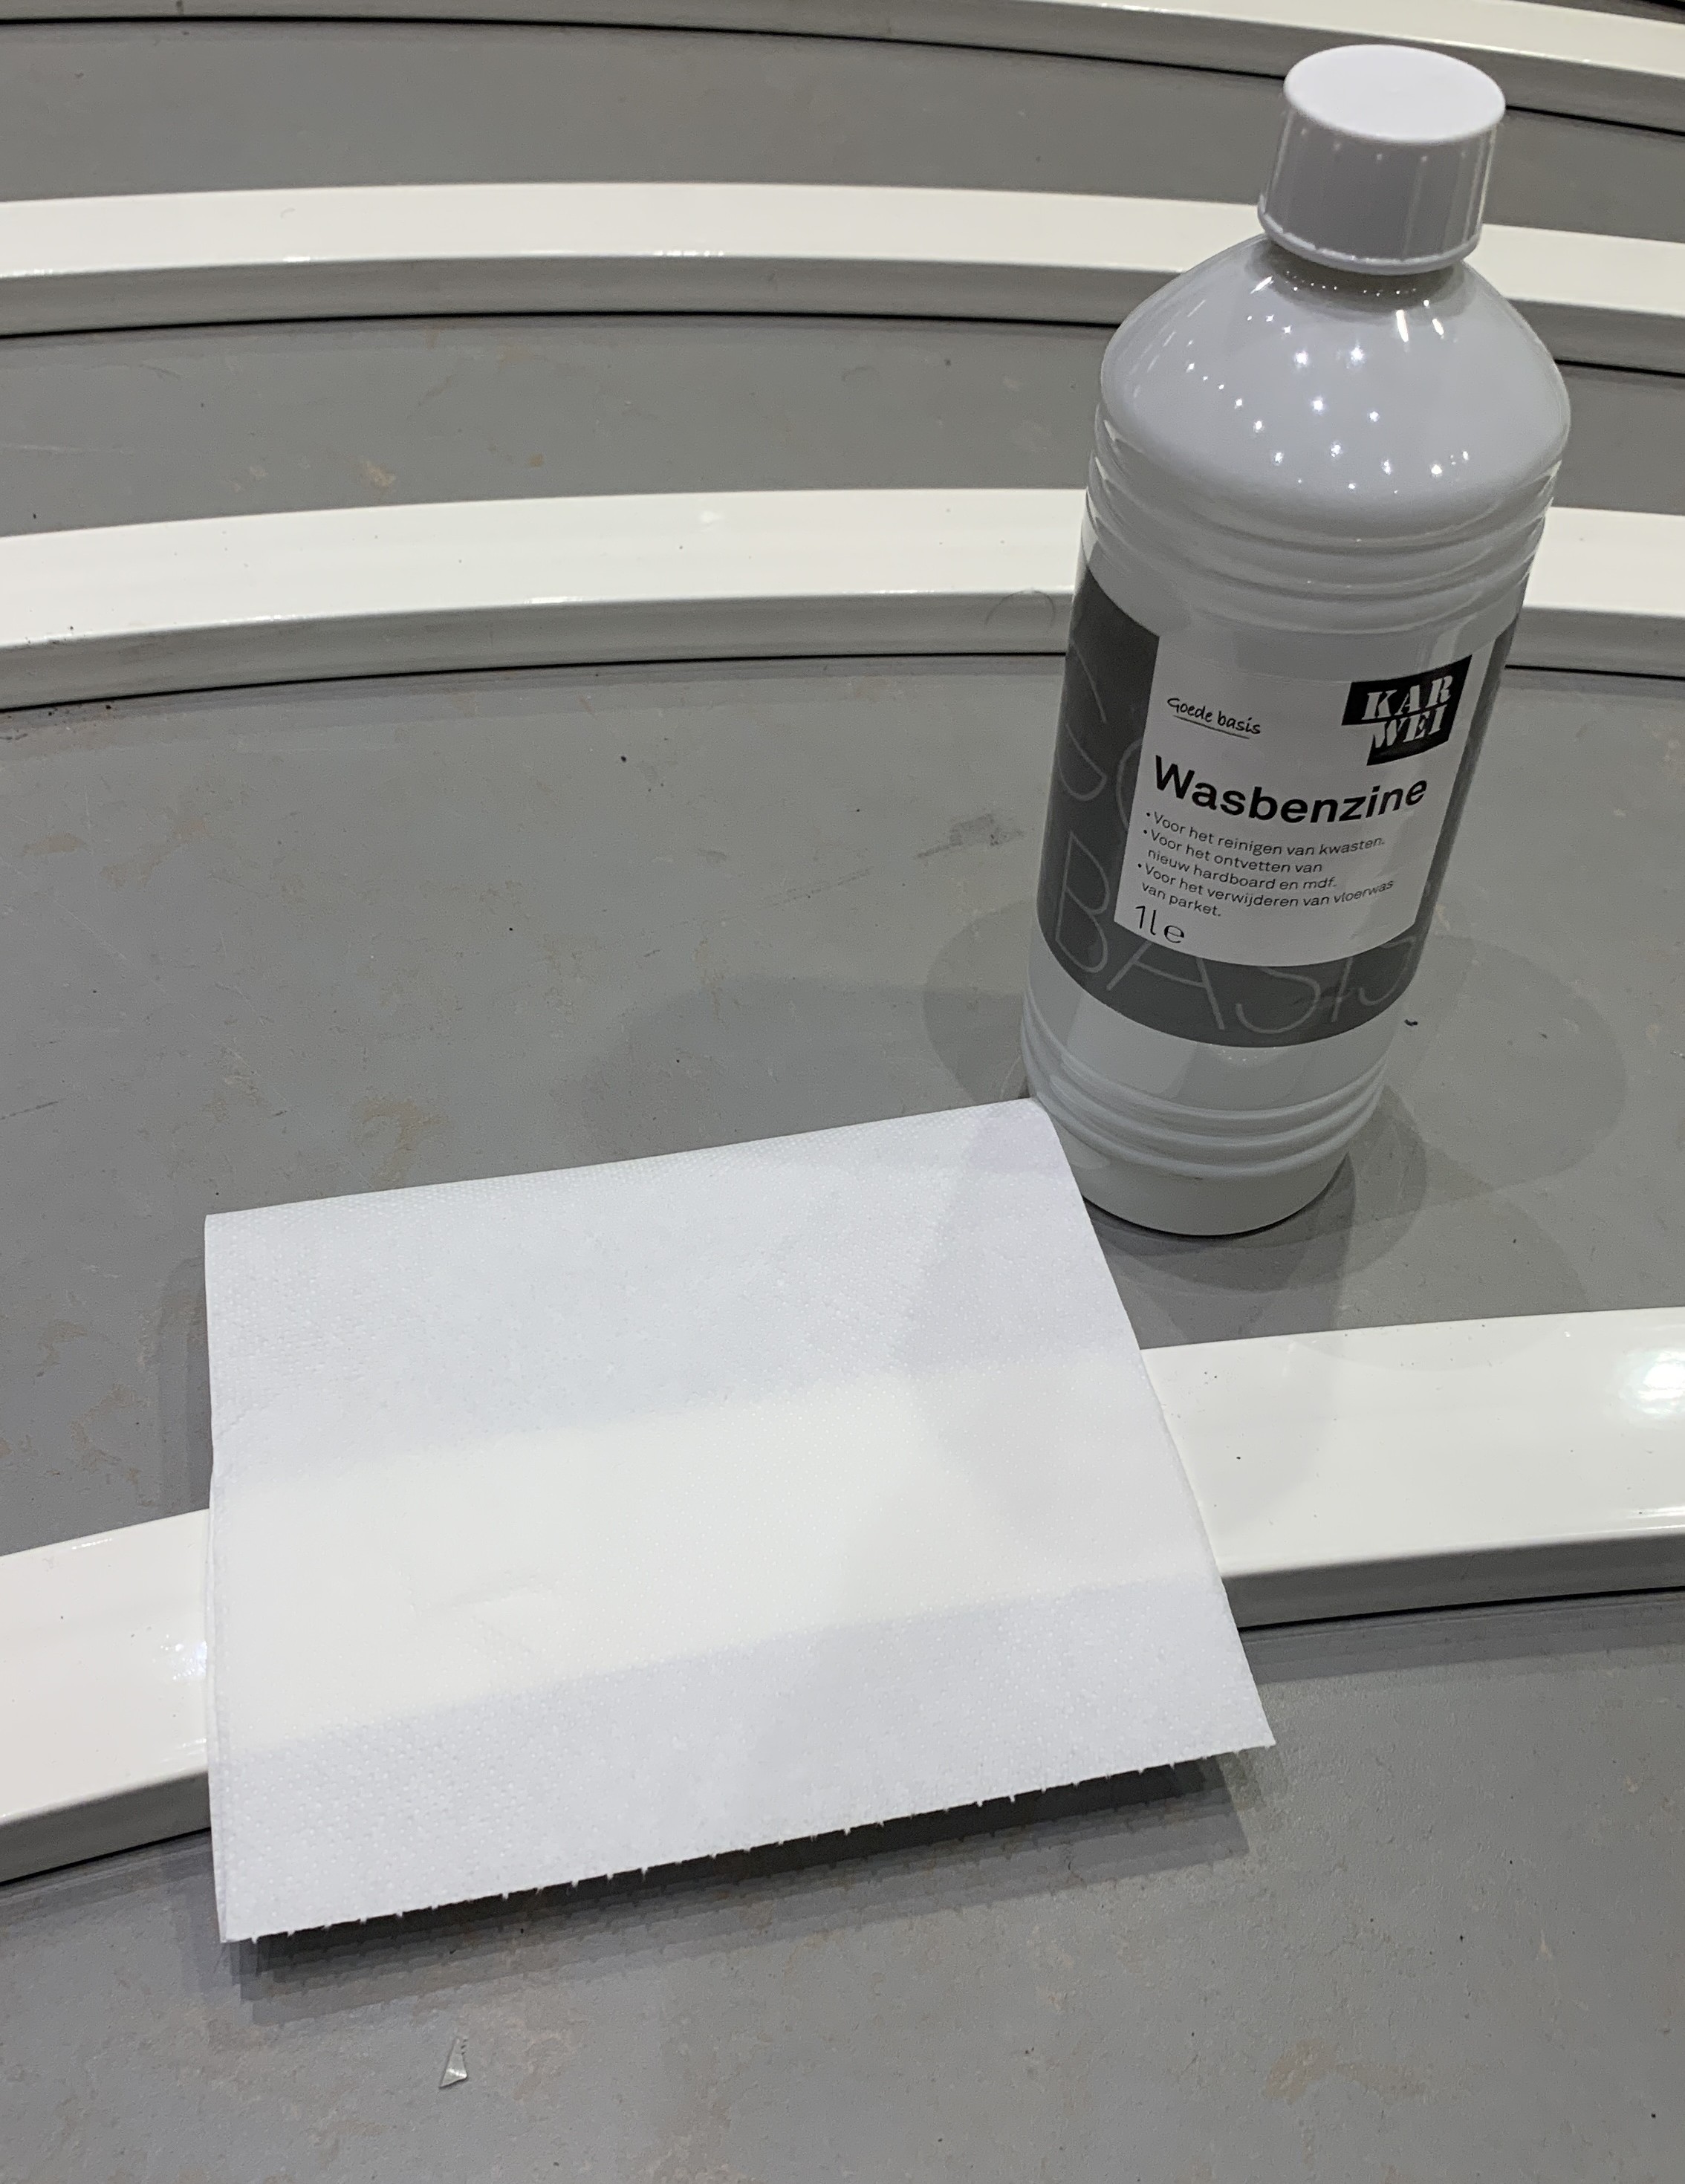
Step 2: Clean the Surface
Clean the surface of the arc with benzine so the dirt and grease are removed. This will improve the adhesion of the LED strip to the arc.
Step 3: Cut LED Strip
Remove 57 LEDs from the end of the LED strip, so it has 243 LEDs.
Step 4: Cut the Wires
Cut the needed wires to the required length. - If the wire is for connecting two strips, cut it to 25cm. - Otherwise, cut it to 70cm.
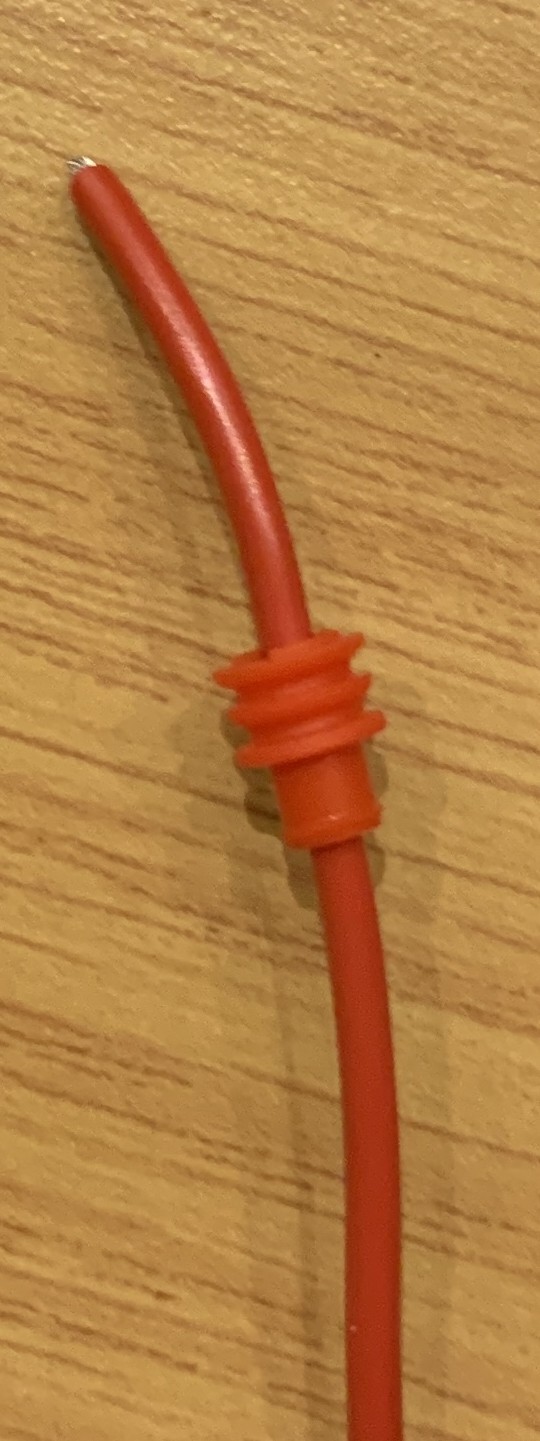
Step 5: Add Rubber Socket Seal
Add a rubber socket seal to the LED strip. Make sure the seal is placed on the correct side of the LED strip.
| Correct ✅ | Incorrect ❌ |
| ------------------------------------------------------------------ | ---------------------------------------------------------------------- |
|  |
| 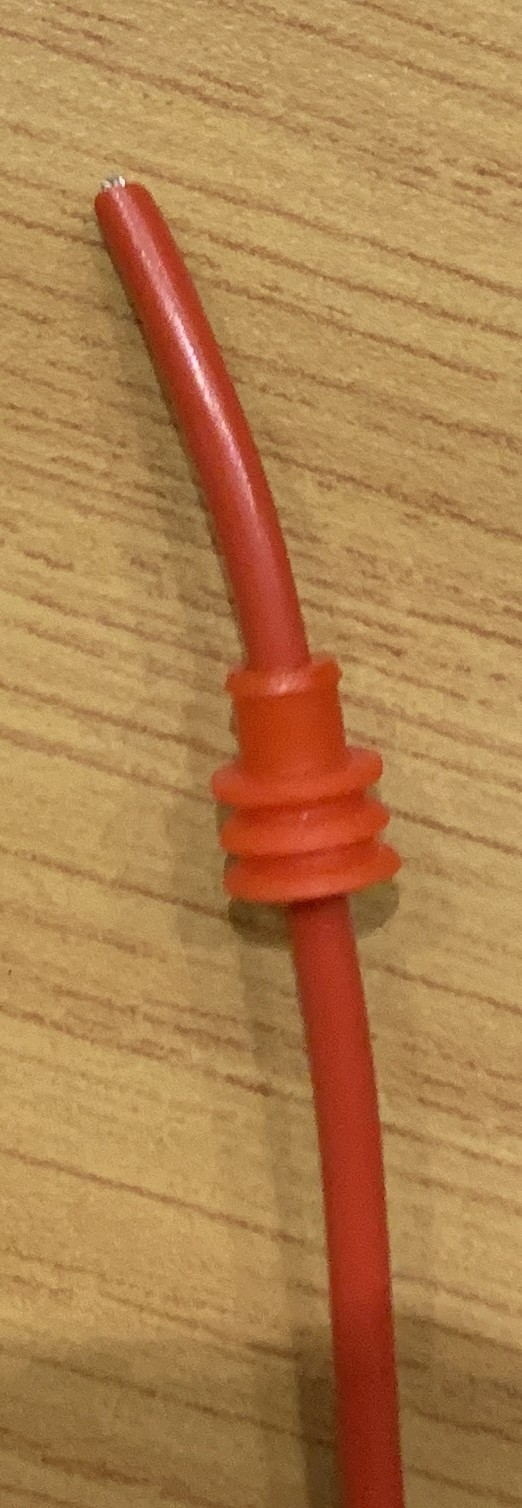 |
|
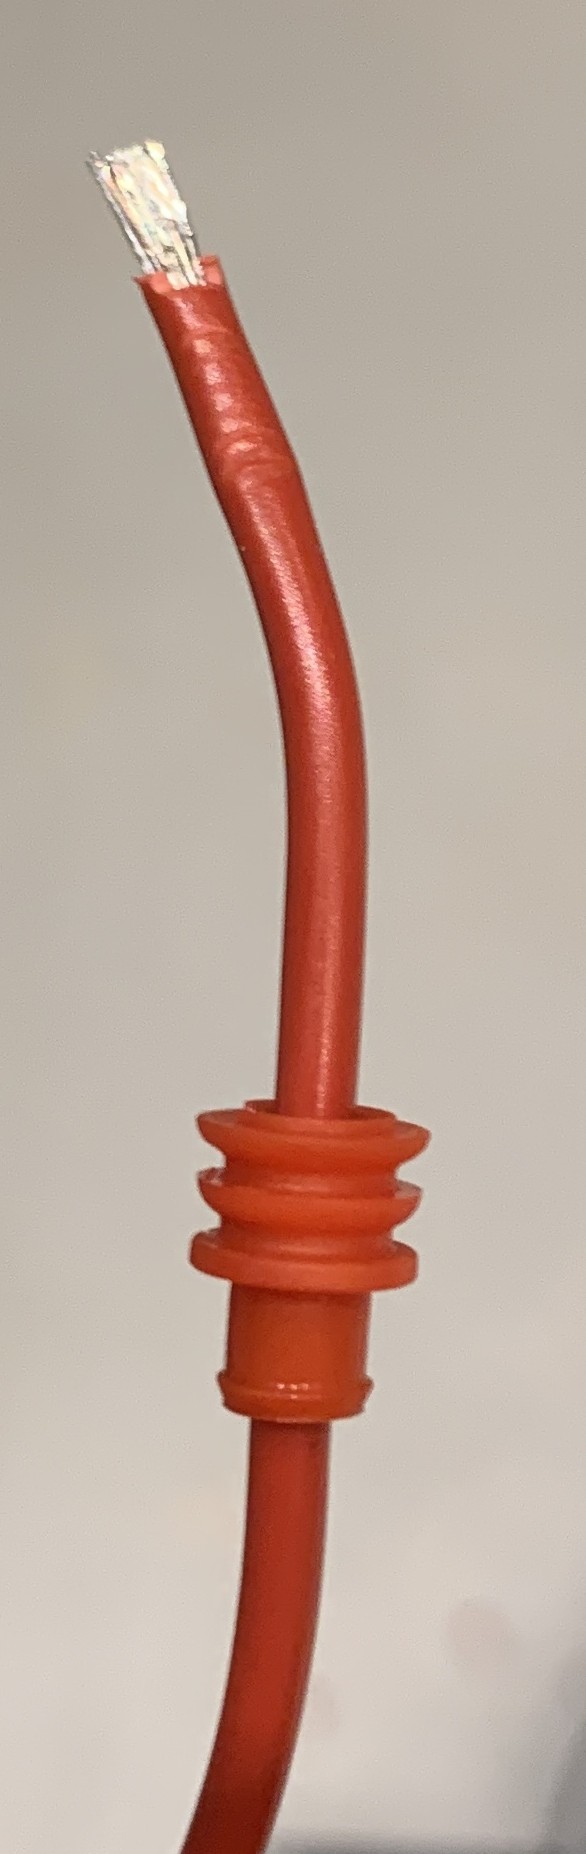
Step 6: Strip the Wire
Strip 5mm of the wire so the contacts are visible.
Step 7: Add a Connector
Crimp a male or female connector to the wire, depending on the type and placement of the wire.
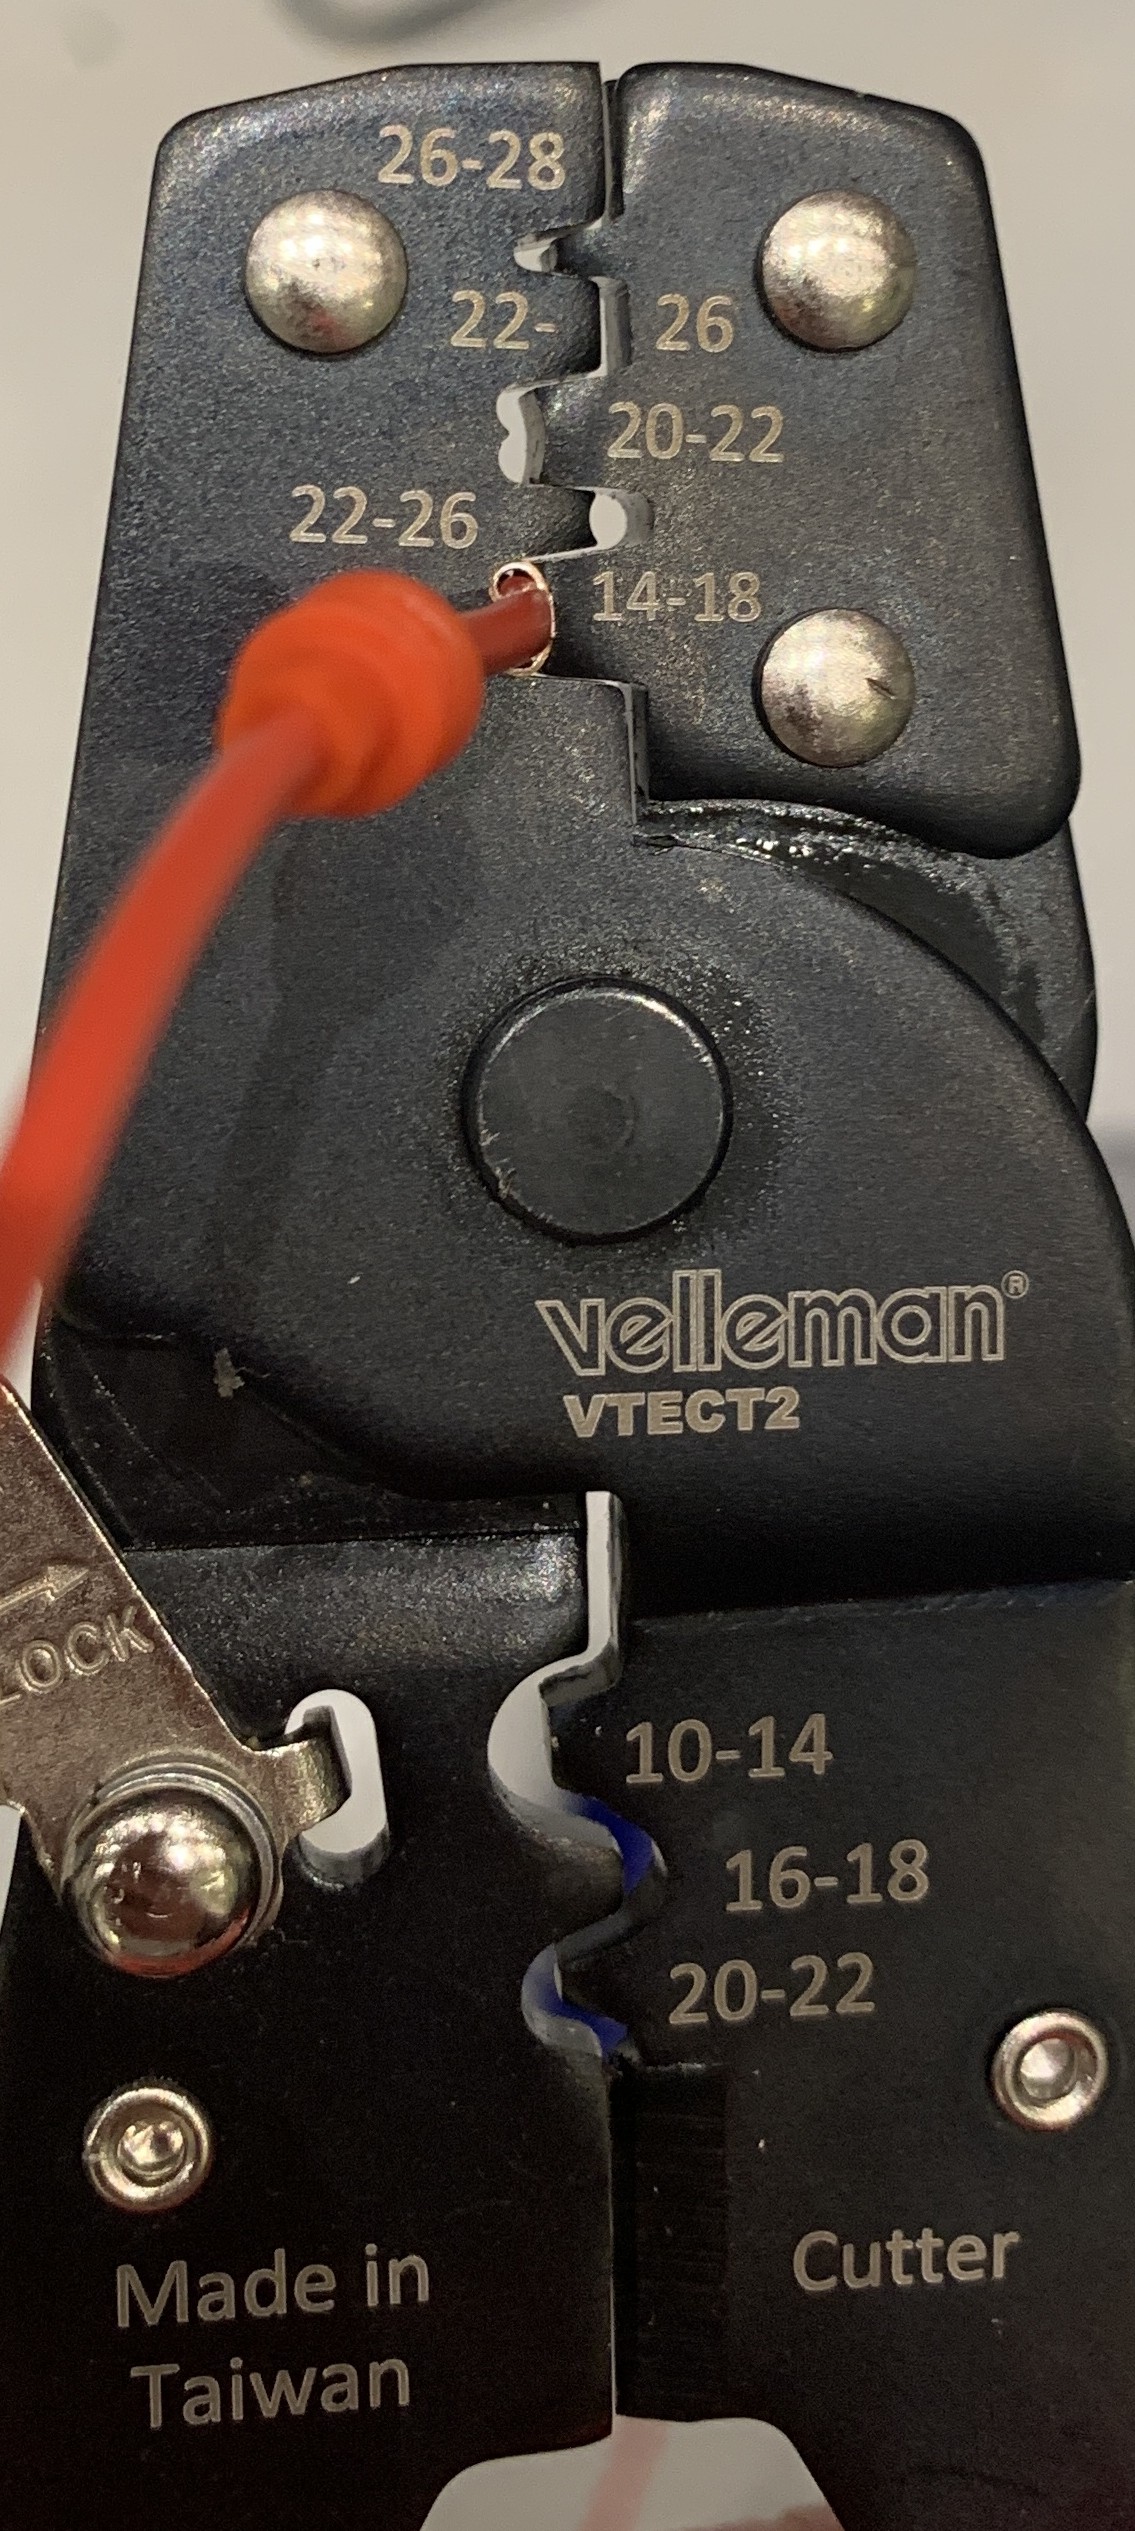
First Size
Start by crimping the connector to the wire with the first size. Make sure the connector is crimped correctly.
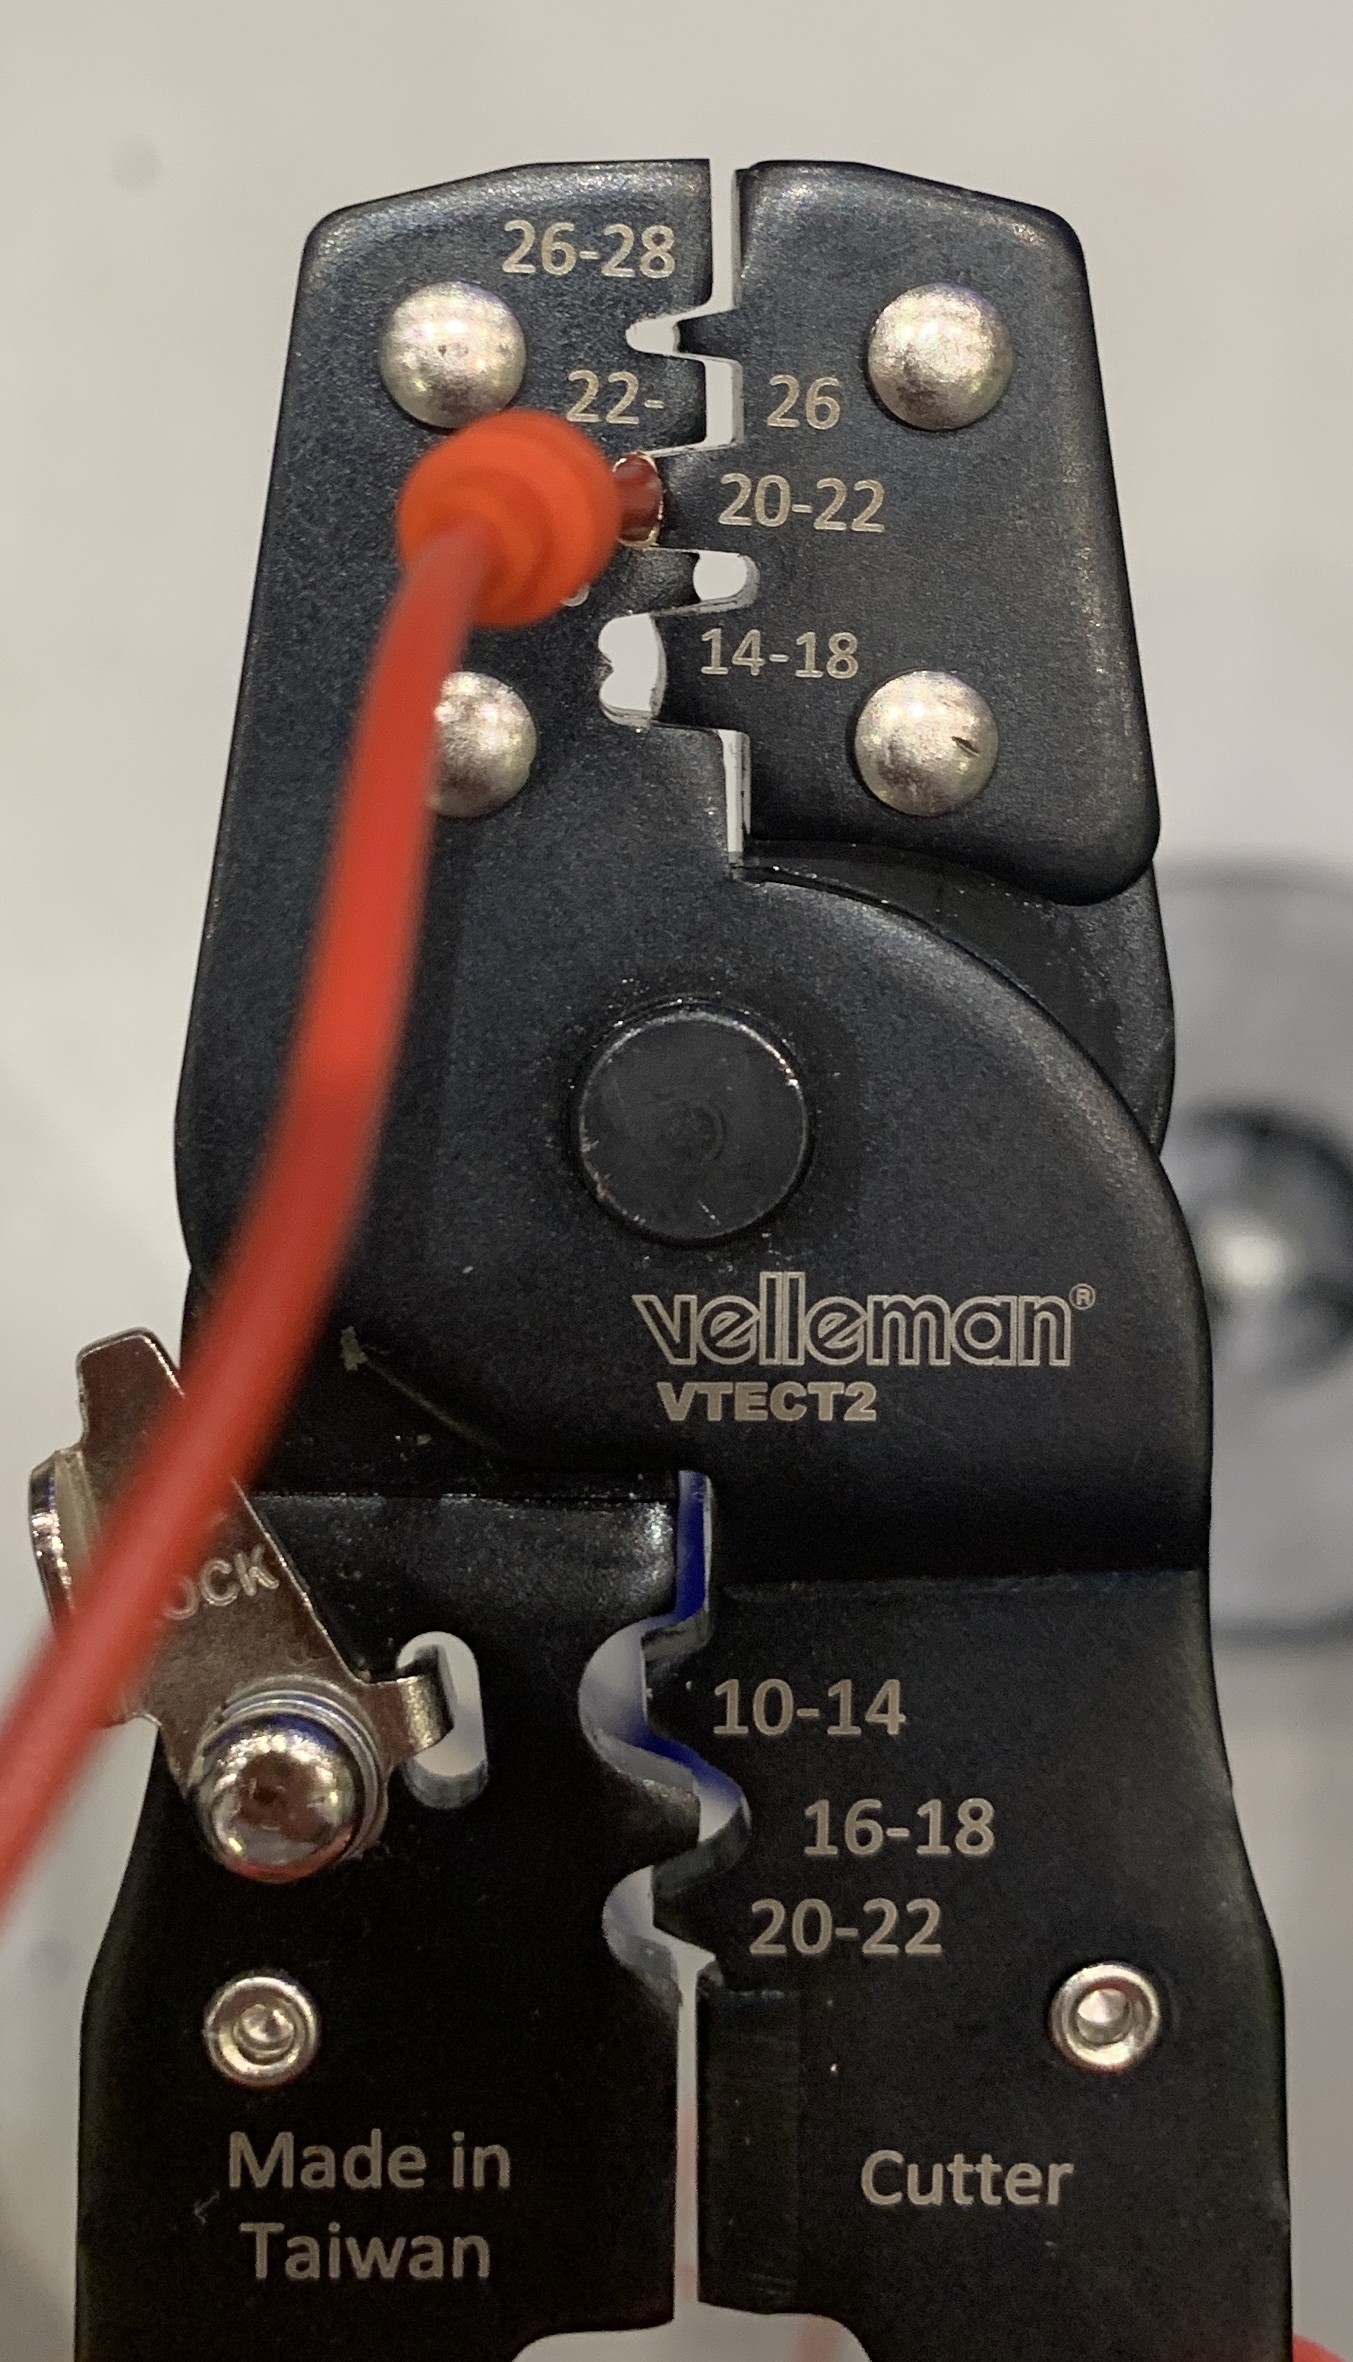
Second Size
After the first size, crimp the connector to the wire with the second size.
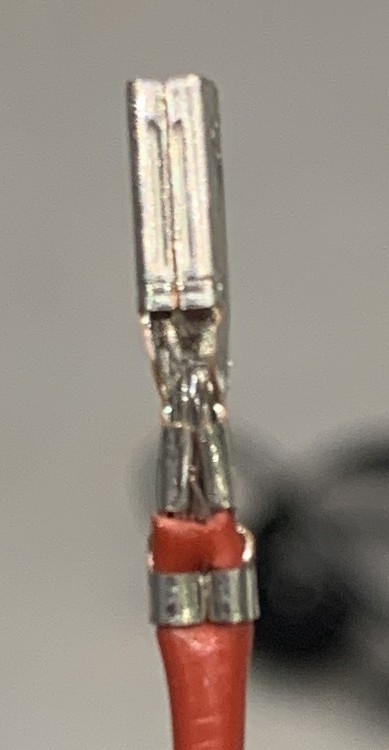
Correction
It can happen that the connector is not holding the wires correctly. Correct the connector by using some pliers to make sure the wires are tight.
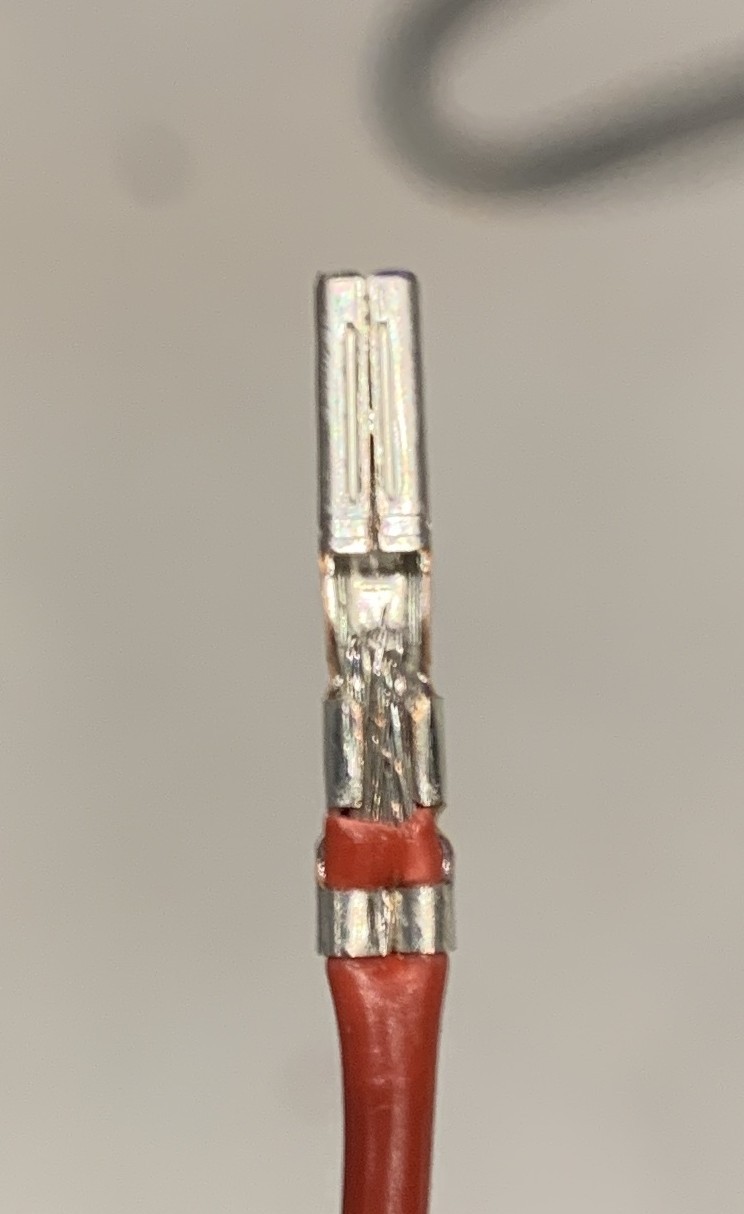
Final
The connector should look like this when it is correctly crimped.
Step 8: Connect the Wires to the LED Strip
Connect the wires to the LED strip. Ensure the wires are connected to the correct side of the LED strip. The arrow on the strip points to the direction of the data flow (start to end).
⚠️ Double-check if the wires are connected to the correct side of the LED strip. ⚠️
Step 9: Pre-Mount the LED Strip
⚠️ Make sure the LED strip is in the right orientation. ⚠️
⚠️ Double-check if the LED strip is working. ⚠️
Mark 16cm from the beginning of the LED strips and mount the LED strip to the arc. Ensure the LED strip is mounted straight and on the correct side of the arc.
Step 10: Add the LED Strip to the Arc
⚠️ Make sure the LED strip is connected to the correct side of the arc. ⚠️
Use the holders to secure the LED strip to the arc. Ensure that the beginning of the LED strip is mounted 16cm from the start of the arc.
Step 11: Apply Silicone
⚠️ Test the LED strip before applying the silicone. ⚠️
LED Strip Configuration
The LED setup consists of three different LED strips, which are combined into one large LED strip using software. The connections are as follows:
LED Strip 1:
- Input: Power, Ground, and Data.
- Connections:
- Data wire is connected to the data line.
- Power is connected to the power line.
- Ground is connected to both the power backup and ground.
- Output: Data and Ground.
LED Strip 2:
- Input: Data line and Ground line.
- Connections:
- Data line goes to Data In.
- Ground is connected to both the Ground and the backup line.
- Output:
- Power cable goes to the power supply.
- Data and Ground go to LED Strip 3.
LED Strip 3:
- Input:
- Power from the power supply.
- Power also from the power supply (connected to the backup).
- Data and Ground from LED Strip 2.
This setup ensures a stable and consistent data flow while maintaining a reliable power distribution across all three LED strips.